Teaching an Interaction
In order to teach an interaction, the arm must be on and we must start the driver. For convenience, we’ll put the arm in gravity mode when starting the driver. In one terminal, launch the Revel driver:
roslaunch svenzva_drivers svenzva_bringup.launch mode:=gravity
In another terminal, we’ll start the Kinesthetic Teaching Console interface with
rosrun svenzva_utils kinesthetic_teaching_console.py
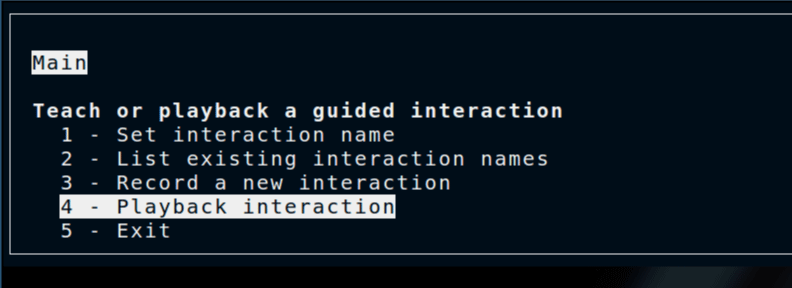
which should start the interface. Your terminal should display the menu as below.
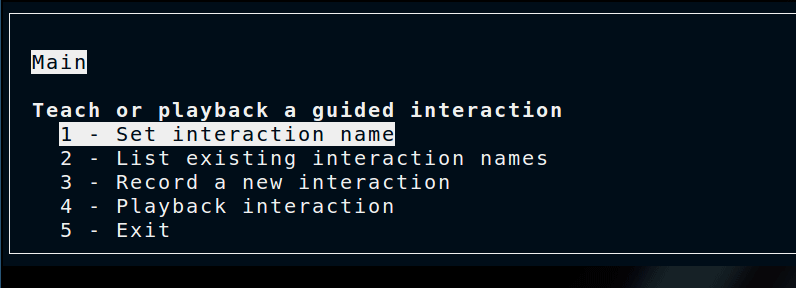
The first thing we need to do is to set the interaction name. This will be the name of the file the interaction data is saved to. Its best to have these be descriptive.
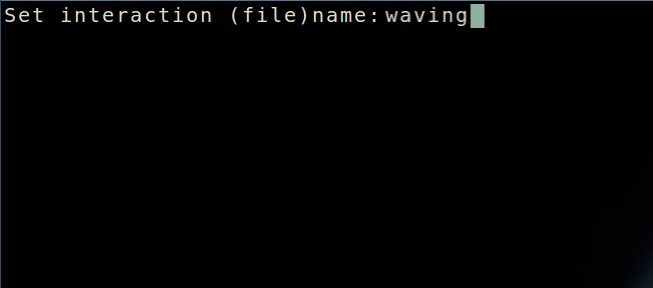
Move the cursor so that Set interaction name is highlighted, press Enter, enter a valid name (no ‘./ ), and press Enter again.
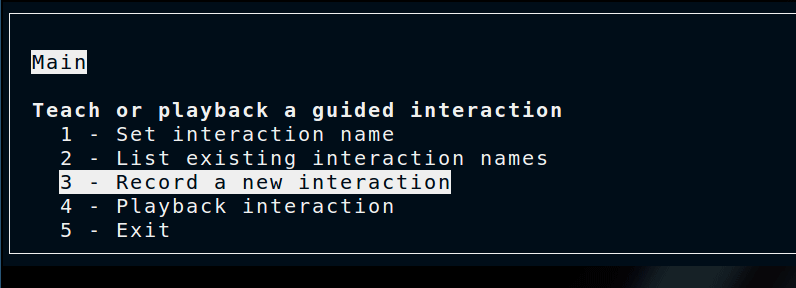
Now we can navigate to the Teaching submenu. On the main menu screen, select Record a new interaction and press Enter.
which brings us to a screen that looks like this
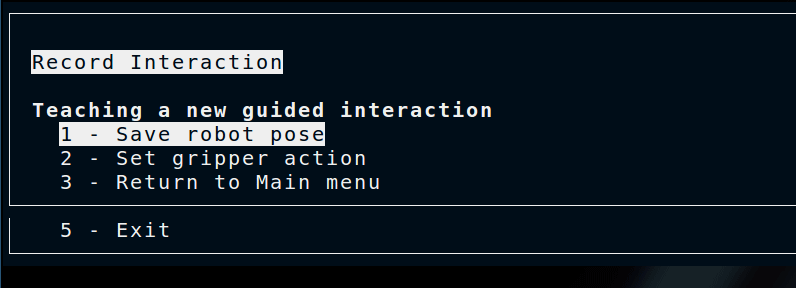
Once the Save robot pose item is pressed, the current position of the robot is saved which we call a keyframe. So we can go ahead and move the robot to the first position of the wave, and then select Save robot pose.
Once we do this, we’re asked to name the pose
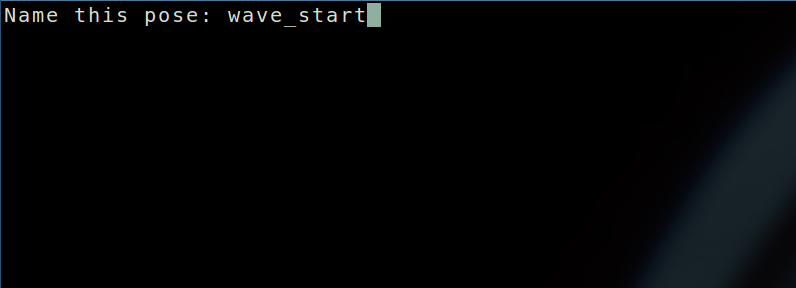
which here we call wave_start. This name is not used by the KT program, rather it is for your benefit in the event that you want to replace or remove that keyframe from the interaction.
At this point, you can move the robot and add keyframes as many times as you want until you feel the arm’s wave will be sufficient. Keep in mind that the robot will interpolate between frames, so the frames don’t need too close together.
Here is a gif of what teaching the wave looks like.
Playing back an Interaction
Having taught an interaction by adding robot keyframes, we can now play it back to see the fruit of our labor. To do this, the arm needs to be in position control mode. A fast way of doing this is by setting the mode when launching the driver. i.e.
roslaunch svenzva_drivers svenzva_bringup.launch mode:=position
We can run the KT teaching interface in a new terminal
rosrun svenzva_utils kinesthetic_teaching_console.py
Now we need to select the interaction file we want to play back. We can do this by selecting Set interaction name in the menu. Since we just taught a wave in the previous tutorial, that’s what we’ll enter here.
Now we select the Playback submenu from the main menu.
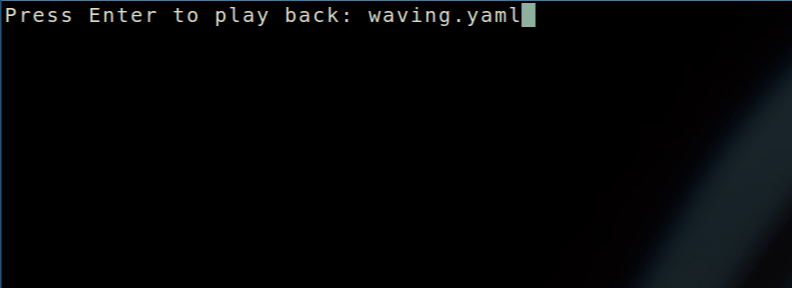
Finally, a screen will confirm the name of the interaction file. If the file name is the one you want played back, press Enter.
The robot will start playing back the interaction which will look like this
Congrats! You just taught a robot how to say hello! One step closer to sentience…